Getting the walls up in a camper van build
There are a lot of steps required to convert a Mercedes Sprinter Van into a working Office or RV setup. We purchased a 2015 Mercedes Sprinter 2500 Crew High Top 144″ Wheelbase model in hopes of creating a mobile travel RV / Office. This vehicle would need to accommodate a total of 4 people. This model of Sprinter Van comes with seating for 5 and a completely empty back section. Having this setup made it perfect for our project. This article will cover what we did to install full height interior walls in the Sprinter van.
 The first step was to remove the half walls installed by the factory in the Crew van. We needed to replace these half walls with walls that went all the way to ceiling. This would cover the insulation and provide a more stable wall base.
Here are the items we used to make the new interior walls in our Sprinter Van Conversion:
- 3 Sheets of 1/4″ Masonite
- 15 linear feet of carpet
- 2 cans of 3M Super 77 Spray Adhesive
- 1 Roll of Gorilla Tape Black
- 1 Box of Ziploc Storage Bags
- 1 Box of Sheet Metal Screws
Here are a list of the tools we used to complete the camper van conversion wall build:
- Table Saw
- Jig Saw
- Cordless Drill
- Pencil
- Razor Knife
The project took about 2 days to complete working about 4 hours per day. It was not a hard project but it took time to do it right.
 These half panels in the van were easy to remove and made of a heavy duty corrugated plastic. The plastic half panels made the perfect template for making new wall panels because they already had the proper cutouts for the wheel wells and other required openings near the door. I used Ziploc storage bags to keep all removed parts together. The bag was labeled and stored for later use.
 The setup would require two pieces of masonite because the length was about 6 foot on each side. Once we cut the template in sheets of masonite, it was time to connect the two wood panels together. After connecting we then overlayed the carpet we used as the finish. We Gorilla taped the two pieces of wood used to make each sides interior wall and spray glued the carpet to the wood.
 We decided to cut the carpet longer than needed and fold and glue over for a nicer finish on the edges. This was smart because it left a really clean looking edge.
 This is one completed panel. All that was needed now was to cut the carpet covering for installation.
 Notice the nice edge from the folded over carpet. My wife’s idea, she deserves the credit for this one. We screwed the panel through the panel into the interior side of the vans wall.
BE VERY CAREFUL NOT TO USE SCREWS THAT ARE TOO LONG OR SCREW THROUGH THE OUTSIDE OF YOUR VAN IF YOU DO THIS. ALSO, MAKE SURE THERE IS NO WIRING ANYWHERE THAT YOU ARE USING SCREW FASTENERS.
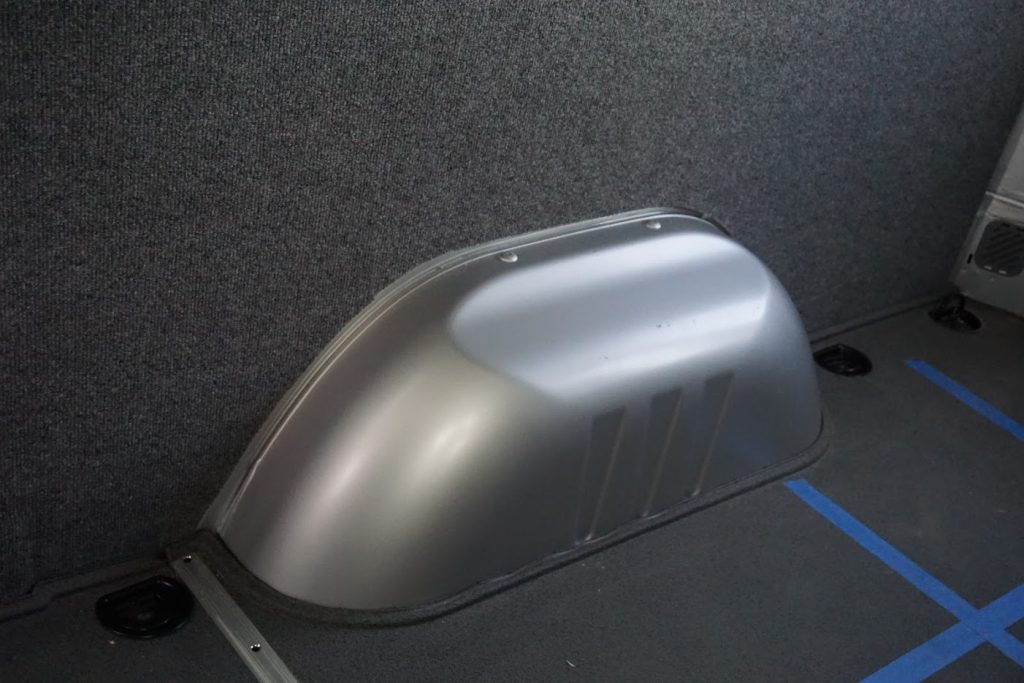 Using the template created a nice clean installation near the wheel well.
Note: I installed these panels before insulating, so I had to take them down to insulate the van behind the walls. Will have another blog article on this soon.
 This is me happy with the installed wall panels in our Sprinter Conversion van. Time for a break, keep checking in to see more details on how we converted this 2500 Sprinter Crew into a usable RV and mobile office. This will include adding RV Solar kitand power inverter.
Simple wattage calculator for devices in your RV
To calculate the wattage of an item it is important to know both the amps and the volts that the item uses. This simple calculator will give you an easy conversion to watts.
It is based on volts X amps = watts.
Volts: Amps:Wattage: {wattage}
The Go Power! Elite Solar Kit - IC-2000 - 380 Watts of solar
We have found these kits contain much of what you need for getting going with off-grid solar and inverter power. We have also added lithium battery and sealant as well
3 top power inverters from Go Power may be right for you too!
Go Power! makes high quality Sine Inverter Chargers and regular sine wave models as well. Sometimes all you need is the inverter, please check out the wattage for the right size for you.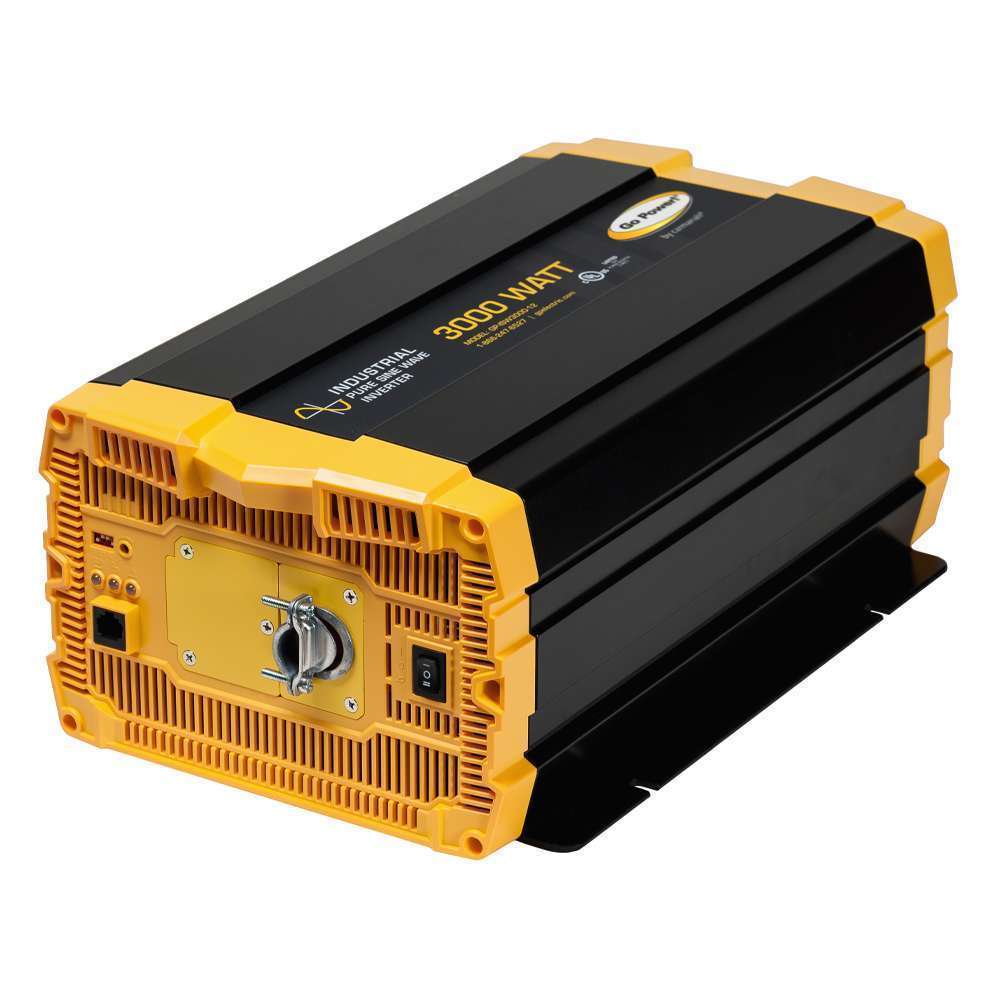
3000 Watt Go Power Sine Inverter
This Go Power Sine Wave power inverter is ready to power most of your 30 amp loads. It is ready to turn 12 volt DC into 120 VAC. Hard Wire Only.
Hope you enjoy your visit to our site!
2000 Watt Go Power Sine Inverter
2000 Watt sine wave power inverter with a GFCI outlet on the front made by Go Power!
Awesome to see you here
1500 Watt Go Power Inverter
1500 Watts of clean pur power that has a GFCI and a great manufacturer, Go Power!
Thanks in advance for your support

